Chilies in the garden and on the balcony belong to the absolute basic equipment of urban gardeners and experienced hobby gardeners. The small pungent fruits thrive reliably in beds and pots, and their bright colors also make a visual statement. But when harvest time is here and you have tried the first fiery dishes from Thai to Tex-Mex to Caribbean cuisine, the question arises: what happens to the rest of the rich harvest?
The right variety, the right method
In the interest of our gastric mucosa, let’s try not to polish off everything at once. With the harder varieties of our dragon fire assortment, such as the Habanero chili ‘Calita® Orange’ or – even worse – the Indian Dorset Naga chili ‘Cresto’, most people won’t get far with this plan anyway… However, there is something for everyone in the assortment – no matter if you are a warmist, adventurer or fire breather.

In order to always have digestible doses of your own chili harvest-ready in the long run, you have to preserve the fruits. There are many ways to do this, and depending on your level of kitchen experience or laziness, there is a method for everyone. And by choosing the right variety, you can choose the right level of spiciness for yourself. We have put together a few suggestions for you here.
1 | Drying chilies and making chili powder yourself
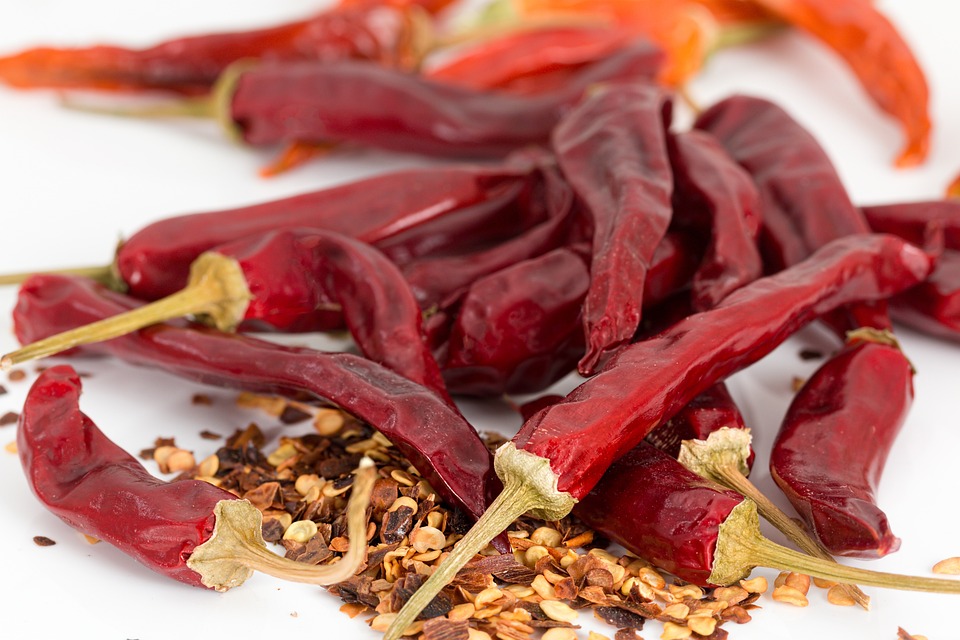
It really couldn’t be easier. In a dry, well-ventilated place, chilies dry almost by themselves. You simply spread out your harvest – for example, the pot-pepperoni ‘Apache’ – on kitchen paper (the fruits should not touch each other) and turn them daily. Alternatively, you can pierce the stems with a needle and thread and hang your chilies on a line. After 3-4 weeks they should be dry. You can tell if they are dry when the fruits are very light and brittle. If they are still soft, wait another 1-2 weeks. For thick-fleshed varieties, such as the jalapeno chili ‘Samira® Shiny’, it is worthwhile to dry the fruits in the oven. To do this, you can simply leave the fruits in the oven at 50-70° for several hours until they are dried.
You can now store the dried chilies airtight in a can or a freezer bag for several months. Or you can go one step further and process them directly in a mortar to coarse chili flakes or in an electric herb mill to chili powder. The stems must of course be removed first! 😉

2 | Pickle jalapeno slices
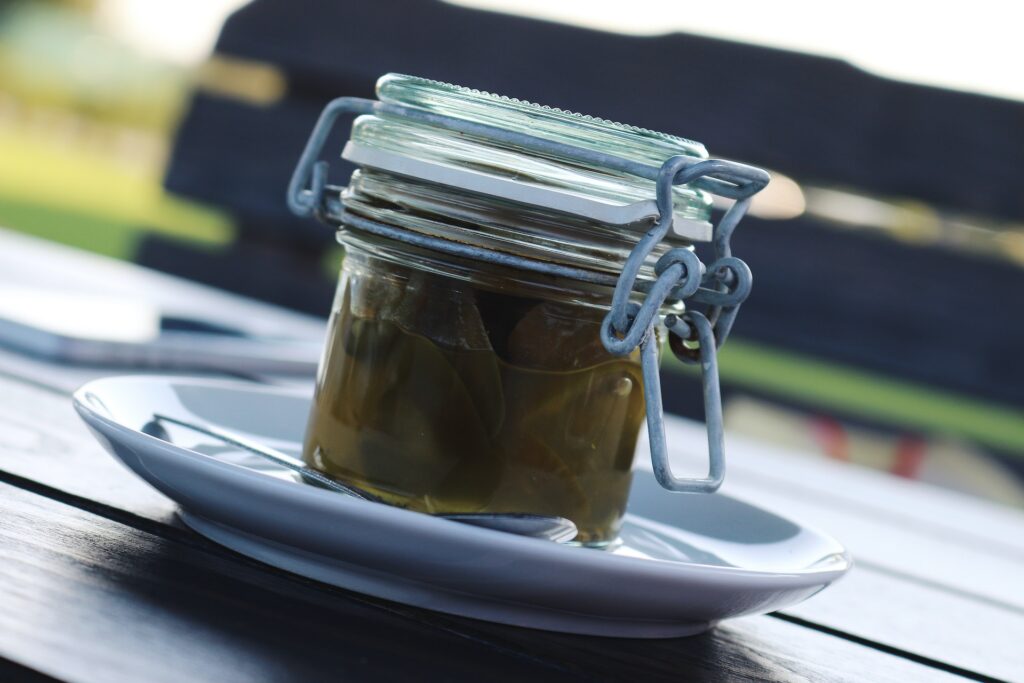
Of course, you can pickle any type of chili. But the thick-fleshed jalapenos are especially popular for this method, and in this form, they are one of the basic ingredients of any trendy burger joint. And as always, the homemade ones are the tastiest!
INGREDIENTS
- 500g jalapeno chilies ‘Samira® Shiny’, banana peppers ‘Texana® Hot Banana’, or your favorite chilies
- 700ml water
- 700ml vinegar (e.g.)
- 2 tablespoons sugar
- 1 tablespoon salt
- Whole garlic cloves and thick onion rings according to taste
HOW TO MAKE IT
- Put water, vinegar, sugar, and salt in a pot and bring to a boil.
- Carefully rinse five or six jam jars with boiling water.
- Wash the chilies well, cut them into 5mm thick slices, and put them into the jars. Add a clove of garlic and/or 2-3 onion rings, depending on your taste.
- Now fill the jars to the brim with the boiling broth and seal well. Immediately turn it upside down and let it cool.
After one to two weeks, your chili slices will be infused and ready for your burgers, sandwiches, and chili dishes. By the way, they give up some of their heat to the liquid and are therefore no longer as hot as before. So if you like it spicy, just use an even spicier variety!

3 | Make your own Tabasco sauce
The legendary Tabasco sauce. What secret ingredients it contains, we will probably never know… Unless we look at the back of the bottle: It consists of only chilies, vinegar, and salt. 🙂 Of course, there is still a lengthy maturation process behind it, but the faster method for homemakers comes pretty close to the original even so. Especially if you use the hot pepper ‘Fireflame’ with its classic cayenne pepper flavor. Here’s how it works:
INGREDIENTS
- 500g hot peppers ‘Fireflame’ or your favorite chili variety
- 50g salt
- 150ml brandy or apple cider vinegar
HOW IT WORKS
- Wash the chilies, remove the stems and chop coarsely.
- Then puree with a blender or food processor and mix the paste well with the salt.
- Carefully rinse one or two jam jars with boiling water.
- Pour the chili-salt mixture into the jars and sprinkle with a thin layer of salt to prevent mold.
- Store the jars at room temperature for 3-4 weeks.
- Then add the vinegar, stir and leave for another day.
- Finally, strain the mixture through a fine sieve or cloth and pour it into sterile containers. Store in the refrigerator.

Are your chilies too hot?
Finally, a tip for all three methods: If you think your chilies are too hot, simply remove the seeds and white flesh. Those are the hottest parts of the chilies!
But as I said: in the Drachenfeuer assortment you will find chilis in all degrees of heat. From the mild spiral pepper ‘Sumher’ to the Indian chili Dorset Naga ‘Cresto’, which burns away everything in its path!
In the mood for a chili tasting?
Here are our suggestions:
- 1st level: “The wimp” – mini snack bell pepper ‘Lubega®’.
- 2nd level: “The beginner” – Spiral pepper ‘Lyric®’.
- 3rd level: “The feasible” – Hungarian hot pepper ‘Amboy®’.
- 4th level: “The fire-breather” – Hot pepper ‘Fireflame®’.
- 5th level: “The Curse of the Caribbean” – Scotch Bonnet Chili ‘Animo®’
- 6th level: ” The Sting of the Scorpion” – Trinidad Scorpion Chili ‘Fortado®’

Have fun with the chili tasting!
