
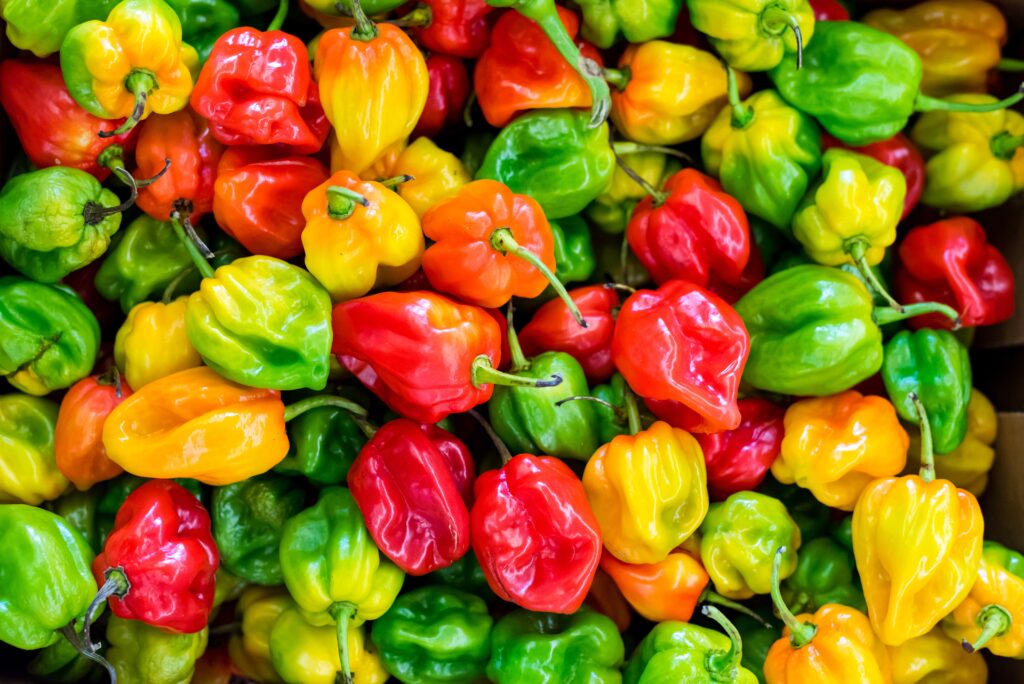
If you don’t want to give up the pleasure of fiery chili peppers (Capsicum) even in winter, you have to take precautions in summer. There are various ways how to preserve chili peppers. We tell you everything you need to know about oiling, freezing, drying, boiling down, and fermenting, the best ways of preserving chili peppers.
Chilies belong to the plant genus peppers (Capsicum) and are so popular mainly because of their spiciness. There are five different chili species worldwide. These species in turn include countless different chili varieties. Unlike peppers, chilies contain a substance that makes them hot. Actually intended as a defense against predators, the enjoyment of the hot pods is particularly tempting for us. There are many different methods of preserving chilies. This way, you don’t have to rely on a constant supply of fresh chilies, which could be difficult, especially outside of the growing season.
Pickle chilies in oil
A simple and very effective way to preserve chilies is to pickle them in oil. This not only preserves the chilies, but also makes them very aromatic. However, it is not the oil that preserves the chilies, but only seals them in an airtight container. Because the chilies in oil no longer have contact with oxygen, they keep considerably longer.
To preserve chilies in oil you will need:
- A large pot
- Canning jar (for example Weck)
- Good oil (preferably extra virgin olive oil)
- White wine vinegar (6% acid)
- Salt
- Sugar
- Chilies of your choice
As a first step, wash the chilies very thoroughly with cold water and cut them once lengthwise. This is important so that there are no air pockets. Now you can either remove the placenta (the white in the chili) and the seeds or not. The seeds are where most of the heat is. Then bring water to a boil in a large pot and add 200 milliliters of vinegar, 10 grams of sugar and 20 grams of salt per liter of water. Now put the prepared chilies in the boiling water for three minutes.
Tip: Jalapeños, with their thick pericarp, should be cooked for a good five minutes. Habaneros, on the other hand, with their thin pericarp, should only be left in the water for two minutes.

Then drain the chilies well and place them on a clean kitchen towel. The chilies should be as well dried as possible before you put them in oil. The dry chilies are then placed in a canning jar. In the jar, the chilies should occupy about 90% so that they can be completely enclosed in oil. Depending on your taste, you can also boil whole garlic cloves and fill them into the jar. Depending on your taste, Mediterranean herbs and spices also go very well with the chilies in oil. Now fill the jar completely with oil. In a cool and dark place, the chilies in oil will then keep for four to six months.
Pickle chilies in oil in 7 steps:
- Wash chilies with cold water, cut lengthwise, remove casing if necessary.
- Bring water to a boil in a large pot
- Add 200 ml vinegar, 10 g sugar and 20 g salt per liter of water
- Boil the chilies in the water for 3 minutes
- Dry the chilies well and put them into the jar
- Add herbs and garlic according to taste
- Fill the jar with oil so that the chilies are completely covered.
- Chilies soaked in oil

Tip: Large chili varieties, such as habaneros, can be filled well with cream cheese and pickled in oil. However, their shelf life is then only two weeks.
Alternatively, chilies can be pickled in vinegar rather than oil. In this case, the pods are boiled with water, 300 milliliters of vinegar, 70 grams of sugar and 30 grams of salt per liter, placed in jars and then poured over with the decoction used for boiling. Finally, sterilization of the jars is required: this is done either in a canning pot (water bath) at 90 °C or in the oven, both for 15 minutes. Chilies in vinegar will keep for up to a year.
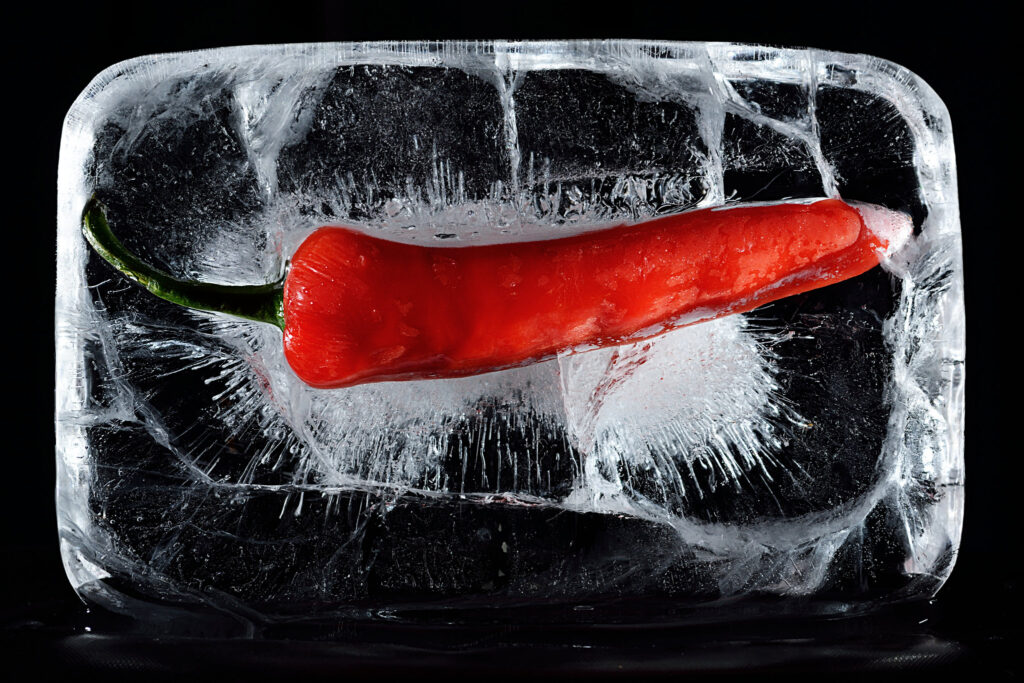
Freezing chili
Even simpler than putting chilies in oil is freezing them.
How long can you freeze chili? Chilies will keep in the freezer for up to ten months. To freeze, you can use the pods whole or cut them into small pieces. It is also up to you whether you want to remove the seeds or not.
Freeze chilies in 4 steps:
- Wash chilies and pat dry.
- Label freezer bags or boxes with date and contents.
- Optional: cut chilies/remove seeds
- Place chilies in freezer container and freeze
- Frozen chilies
- Freezing is especially simple and works with whole or sliced chilies
Tip: You don’t need to let frozen chilies thaw before processing. Just add them frozen to the dish while cooking.
Drying chilies.
Drying removes the water from fresh chilies, making them more durable. In Mediterranean areas, it is enough to put the chilies in the sun for a few days. In our country, this requires a little more effort. Chilies can be dried in the oven, over the stove or heater, or in a dehydrator.
Drying chilies in the oven:
- Wash and dry chilies well.
- Cut open the chilies
- Place chilies on baking tray
- Set the oven to a maximum of 50 °C
- Put a cooking spoon between the oven door
- Let chilies dry in the oven for about 6 hours
You can proceed similarly in the dehydrator. To dry over the heater or wood stove, string the chilies either whole or cut into small pieces on a string and hang over the heater or oven. In this case, however, it takes several days for the chilies to dry completely.
You can store the dried chilies whole or grind them into chili powder. Stored dry and dark, the dried chilies keep for a very long time.
A dehydrator is ideal for drying chilies and peppers. To do this, cut off the stems and calyxes, cut the chili in half lengthwise, and place it skin side down on the dehydrator’s grid. If the dehydrator has a timer as well as an infinitely variable temperature control, the rest is easy. The temperature is set to 50 °C and the time is set to about six hours, depending on the number of sieves used and the thickness of the chili. After that, the chilies are so dry that they can break like glass. However, the color and aroma are fully preserved with this technique.
Chili boiling down
The simple classic of chili processing: boiling down chilies. There are no limits to your imagination: be it as salsa, chutney, relish or jam – you can make an incredible amount of things from chilies. The type of sauce you boil down depends on your taste. For a salsa, chilies are cooked down along with tomatoes, garlic and spices.
Boil down chilies in 6 steps:
- Wash and chop chilies and tomatoes.
- Put them in a larger saucepan and add other ingredients such as garlic, bay leaves, pepper, oregano, thyme and rosemary to taste
- Simmer the mixture for three quarters of an hour on medium heat, stirring occasionally
- If you don’t like chunks in the sauce, you can puree the whole thing
- Pour hot water into the clean canning jars, dump out and pour in salsa
- Seal jars, invert and let cool slowly.
- Boiled down chilies

For chutneys, chilies are sautéed with a fruit of your choice (apples, mangoes or quince, for example) and onions, then caramelized with sugar. Then the whole thing is deglazed with vinegar and seasoned to taste. After the chutney has cooked down for an hour, it should have a thick consistency. Chutneys go very well as a refined finishing touch to meats and cheeses.
Ferment chili
Fermenting vegetables is very much in vogue again right now. And rightly so, because fermenting not only makes them more durable, but also easier to digest – thanks to the probiotic bacteria that are produced during fermentation. In addition, fermenting does not heat the vegetables, so all the important nutrients are preserved. Chilies are great for fermenting. In fermenting, chilies are preserved in a natural fermentation process by “friendly” lactic acid bacteria. All you need is plenty of fresh chilies and a suitable fermentation vessel, such as a fermentation pot or canning jar.
Ferment chilies in 5 steps:
- Wash chilies well
- If necessary, chop and remove seeds
- Put chilies into fermentation vessel
- Add garlic, onions, herbs, mustard seeds, cumin or pepper to taste
- Pour water over chilies
- Add salt as needed
- Chilies pickled in a jar

Then it’s just a matter of waiting. It’s best to store the fermentation jars in a dark place at room temperature. After a few weeks, the chilies should be sufficiently lactic fermented. You are welcome to go by your taste here. Some like their chilies more fermented, some rather less. After just one week, you can try the chilies once to see how they taste to you. If they are still not acidic enough for you, then just let them sit further. If you are satisfied with the acidity, you can store your fermented chilies in the refrigerator from then on. At the low temperatures, the chilies will not ferment any further. Before you can preserve your chilies, of course, they must first be harvested.
Tip: After the harvest is before the sowing: With our Plantura chili cultivation set you can easily grow chilies yourself. The seeds of five chili varieties and all other materials you need are included in the set.
