
Called chilies, chili peppers, peppers, hot peppers or pepperoncini, they come in a variety of green or red varieties and are great to grow in your own garden. Depending on the variety, the harvest time is between July and September. So, what can you do with chili peppers? With our tips you can also preserve the hot peppers.
1. freezing chilies
The quickest and easiest way to preserve chilies is to freeze them. This allows them to retain their flavor and heat unchanged for an entire year. Unfortunately, however, their consistency changes in the freezer. They are not as crunchy after thawing as they were before. However, that doesn’t have to be a bad thing; they are perfect for hot sauces and for enhancing your dishes. Instructions:
- Cut chilies in half, remove seeds and rinse under clean water.
- Then blanch in a hot water bath
- Drain water and pat pods dry
- put in portions into freezer bags
- Remove air from the bags
- Freeze at – 18 degrees Celsius
Note: Wear gloves when cutting the chilies in half, because any small injury to the hands will otherwise show with severe, burning pain. Be careful not to catch your eye while working!
2. drying on the line
A widely used method of preserving chilies is drying. For example, the pods can be air-dried well when strung up. Select only the best pepper pods for drying. How to do it:
- Thread sturdy thread (twine) through the stem of the hot peppers with a sharp needle.
- Do not destroy stems
- Hang like a clothesline so that the pods do not touch each other
Tip: Small pods where piercing the stem is problematic can be knotted at the stem and hung the same way.
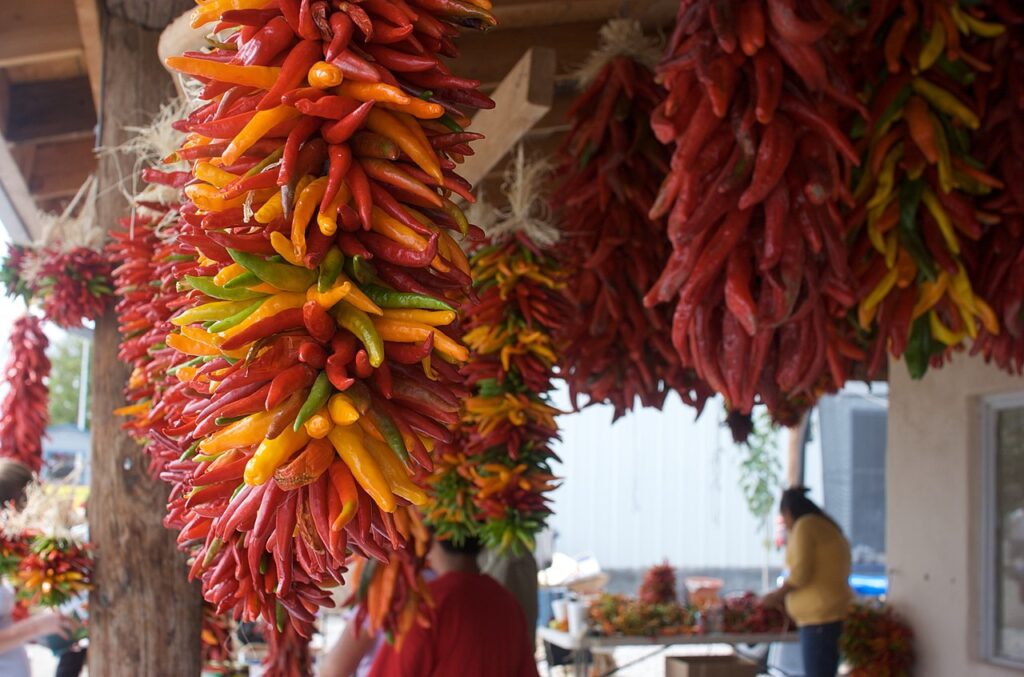
3. drying traditionally
Those who love chilies are probably familiar with decorative Mexican ristras. These hang down vertically, unlike the chili line. The drying method is not quite simple, but very attractive. Suitable for making a ristra are small chili varieties. How to do it:
- Tie 3 pods tightly together at one end of the thread.
- At intervals of one centimeter, knot further bundles of three and continue in this way until a length of 40 centimeters is reached.
- Tie a loop at the top and knot it
- Then hang in a hook (towel hook or similar)
- Wrap thin cord, about 80 centimeters long, around the middle of the hook
- Braid the three ends into a braid until all the chilies are intertwined
Tip: A self-braided ristra is an extraordinary gift idea for all spicy food lovers!
4. drying lying down
To preserve chili peppers, they can be dried lying down. It is important that they are ventilated from all sides to prevent mold growth. However, thick-fleshed varieties are not suitable for drying on a support. To dry chilies in this manner, proceed as follows:
- Cut chili peppers in half, remove seeds as desired.
- Lay out on baking tray or grid with air-permeable paper (kitchen towel)
- Spread the pod halves evenly on it
- Place in a warm place
- Turn the pods regularly
Note: Removing the seeds takes much of the heat out of the pods.
5. drying in the oven
For thick-fleshed varieties, oven drying is suitable. Here’s how:
- Again, rinse the pods thoroughly, pat dry and cut in half.
- remove seeds as needed, cut out stems
- then spread the pods evenly on a baking tray with baking paper
- Preheat oven: 80 degrees Celsius
- dry for 6 to 7 hours
Tip: The dry pods are much darker than fresh ones and can be easily rubbed between the fingers.
6. drying
For lovers of wholesome, healthy food with a vegetable garden, it is worthwhile to purchase a dehydrator, because chili peppers can also be excellently preserved in a dehydrator. The steps are similar to point 5:
- Wash and halve the pods
- Spread on the drying rack
- Dry at 70 degrees Celsius for up to 12 hours
- Chili in a jar

Tip: Dried chili peppers will keep for several years. They should be stored airtight in jars.
7. chili flakes or chili powder
Dried peppers can be made into chili powder or chili flakes. Chili flakes are coarsely crushed pods, while for powder they are finely ground in a mortar or food processor. Flakes and powders are placed in jars. Sealed airtight, they have a long shelf life and give their dishes that popular fiery flavor.
8. pickling in oil
The aromatic hot peppers are also suitable for pickling in oil. Instructions:
- First, wash chili peppers thoroughly again and cut them in half
- Remove stems and seeds as needed
- Bring 1 liter of water to a boil
- Add 200 milliliters of vinegar, 10 grams of sugar, 20 grams of salt.
- Then add chili peppers
- Boil for 2 to 5 minutes, depending on the thickness of the flesh.
- Drain pods well on kitchen towel
- Pour into clean canning jars until they occupy 90 percent of the jar
- Fill jars with oil until all pods are completely covered
- Close jars tightly and store in refrigerator, shelf life about 6 months
9. pickling in vinegar
Chilies pickled in vinegar are especially tasty and have a long shelf life. Proceed similarly to pickling in oil:
- Thoroughly wash and halve chili peppers
- Remove the stems and, if necessary, the seeds
- Bring 1 liter of water to a boil
- add 300 milliliters of vinegar, 70 grams of sugar, 30 grams of salt
- Then put the chili peppers into clean preserving jars – pour the hot vinegar broth over them
- Close the jars tightly
- Preserve in a canning pot in a water bath at 90 degrees Celsius for 15 minutes.
- Store in a cool and dark place, shelf life approx. 12 months
10. tabasco sauce

If you love the spiciness of chili, you can’t avoid Tabasco sauce. It can be homemade without much effort from Tabasco chilies, salt and vinegar. Alternatively, they can choose another hot chili variety. Proceed as follows:
- Wash 1 kilogram of chili peppers and remove the stems.
- First, coarsely chop everything in a blender
- Mix with 100 grams of salt and pour into prepared canning jars
- Sprinkle a layer of salt on the surface of the chili mixture to protect it from bacteria
- Then sterilize for 15 minutes in the canning pot, alternatively in the oven at 200 degrees Celsius
- Close the jars tightly and store at room temperature for 4 weeks.
- Mix the chili mixture with 150 milliliters of vinegar and pass through a sieve.
- Pour into small, clean bottles and store in a cool place
Tip: Don’t forget to label the Tabasco bottles and all other homemade chili products with stickers. Otherwise, you could be in for a spicy surprise!
11. chili oil
High-quality cold-pressed olive oil is traditionally used to make great-tasting chili oils. Depending on your taste, you can also use peanut oil or sunflower oil. In combination with the oil, you can preserve the spiciness of the peppers for a long time. How to do it:
- Distribute dried peppers without stems into small vials.
- Then pour oil over the chilies
- Close the bottles and shake
- Leave in a cool, dark place for at least two weeks
- The pods will sink to the bottom after a few days
- The storage time determines the hotness
Tip: Provided with a pretty little bow, the chili oil is an extraordinary gift idea.
12. chili salt
A great gift for all hobby cooks is chili salt in a decorative container. But maybe you prefer to keep it yourself. The production is very easy:
- Finely grind dried chili peppers.
- Mix with coarse sea salt and add herbs as desired
- Finally, pour into jars and you’re done
With these tips, you can preserve your chili in versatile ways, preserving the heat of the popular pods for 365 days a year!
